> ## Documentation Index
> Fetch the complete documentation index at: https://docs.connect-crm.com/llms.txt
> Use this file to discover all available pages before exploring further.
# Meta
> Get started with connecting the message platforms from Meta in Connect-CRM.
## WhatsApp
Connect the number you already use for your business. You keep sending and
receiving on your phone exactly as you do today, and the same conversations
appear in Connect-CRM.
### Prerequisites
To connect your WhatsApp account to Connect-CRM, you need the following:
* The **WhatsApp Business app** installed on your phone, signed in with the
number you want to connect.
* A Facebook account.
You keep using the number in the WhatsApp Business app. Connecting it to
Connect-CRM does not take it away from your phone — messages you send there
show up here, and messages you send here arrive as normal on the customer's
side.
Keeping the number on your phone requires the **WhatsApp Business app**, not
the regular WhatsApp app. A number you previously moved onto another WhatsApp
Cloud API platform can still be connected, but it stays there — you will not
get the chat history import, and messages you send from a phone will not
appear in Connect-CRM.
### Steps to Connect WhatsApp
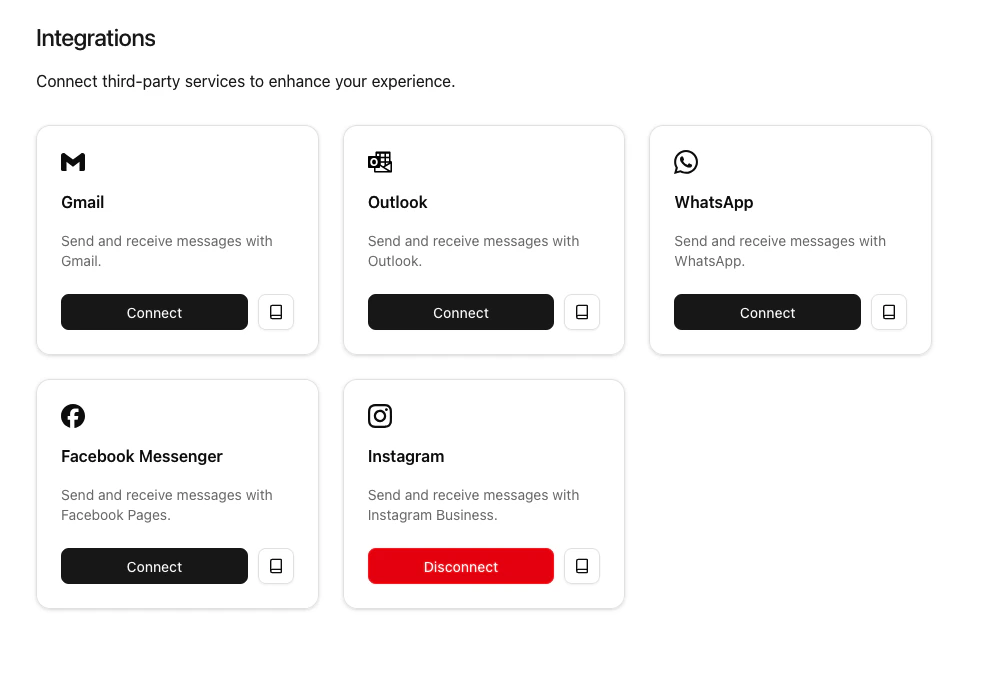
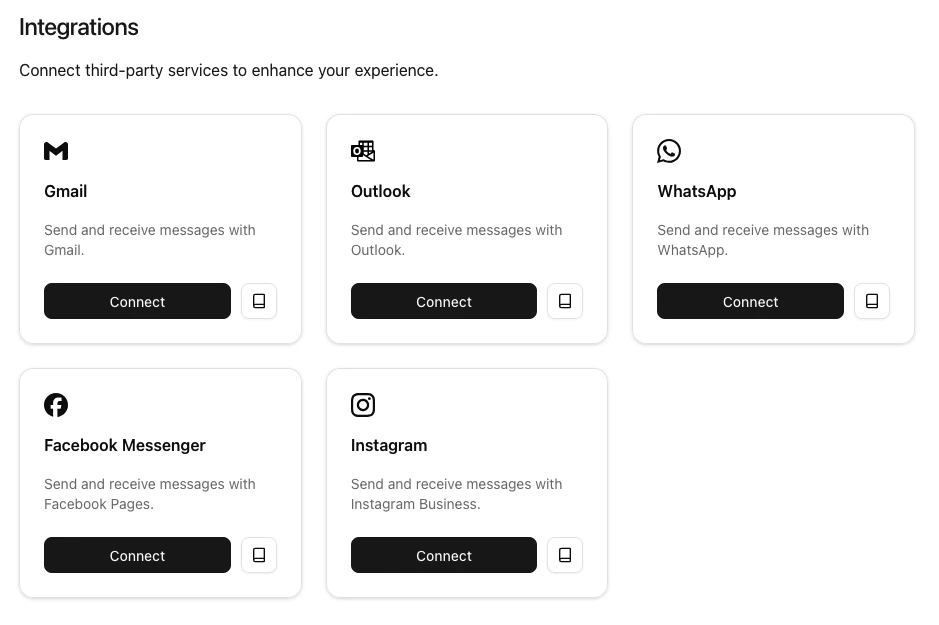
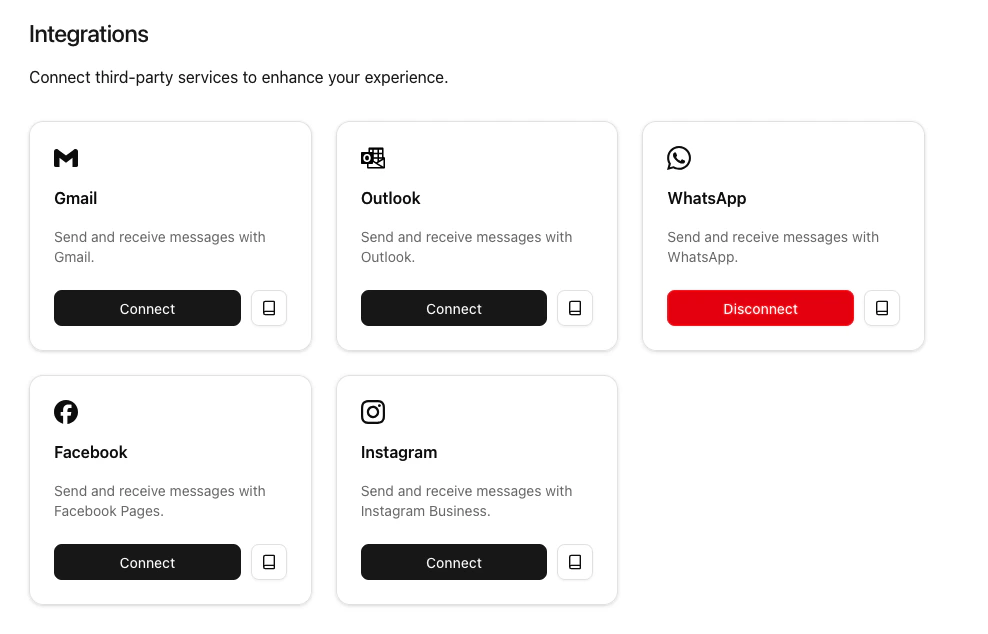
1. First navigate to the Integrations section in Connect-CRM. You can find this in the main menu under **Settings > Connect and manage integrations**.
2. In the Integrations section, look for the **WhatsApp** integration and click on **Connect**.
 3. A Facebook window opens on top of Connect-CRM. Log in with your Facebook account credentials.
4. Click on **Get started**.
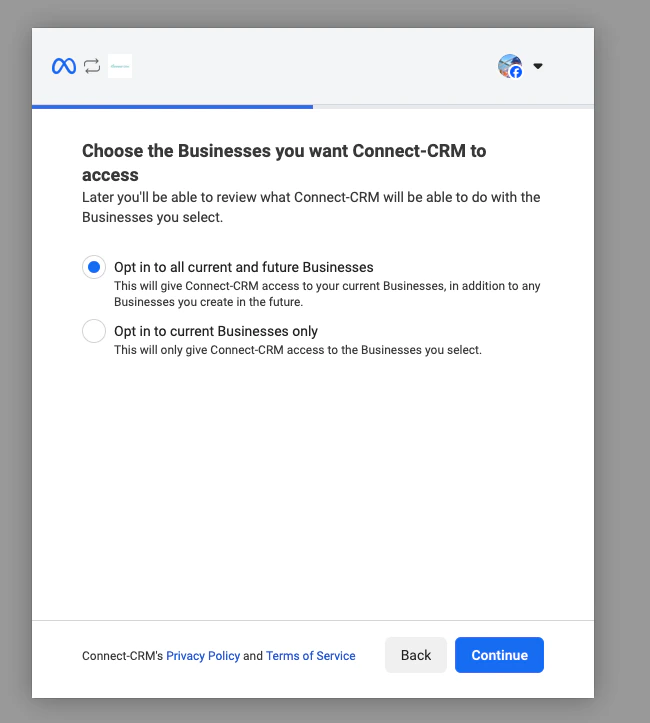
5. Choose a Facebook Business profile, or create one if you do not have one yet.
3. A Facebook window opens on top of Connect-CRM. Log in with your Facebook account credentials.
4. Click on **Get started**.
5. Choose a Facebook Business profile, or create one if you do not have one yet.
 6. Select the phone number you use in the WhatsApp Business app.
7. Choose whether to bring your existing chat history and contacts across, then confirm.
8. On your phone, open the **WhatsApp Business app** and go to **Settings > Linked devices**. Scan the QR code shown in the Facebook window to confirm you own the number.
9. Review the permissions requested by Connect-CRM and click **Continue** to grant access.
6. Select the phone number you use in the WhatsApp Business app.
7. Choose whether to bring your existing chat history and contacts across, then confirm.
8. On your phone, open the **WhatsApp Business app** and go to **Settings > Linked devices**. Scan the QR code shown in the Facebook window to confirm you own the number.
9. Review the permissions requested by Connect-CRM and click **Continue** to grant access.
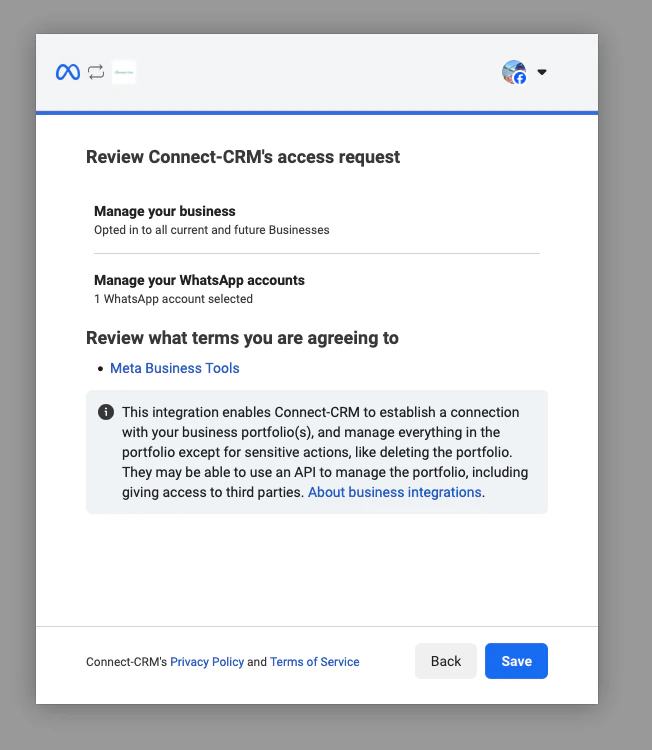 10. Click on **Finish**. The Facebook window closes and Connect-CRM confirms that WhatsApp is connected.
 Keep the Facebook window open until it closes by itself. Closing it early
cancels the setup, and you will need to start again from step 2.
### What comes across
If you chose to share them at step 7, Connect-CRM imports:
* **Up to 180 days of your previous conversations.** They arrive already marked
as read, so your inbox does not open with hundreds of unread messages. They
are sorted by when they actually happened, not when they were imported.
* **The names from your WhatsApp address book**, so an imported conversation
shows who it is with instead of a bare phone number.
Where a phone number matches a contact you already have in Connect-CRM, the
conversation is linked to that record automatically. Everything else appears
under **Unknown contacts** in the inbox for you to triage. If you add a contact
later, their existing WhatsApp conversations link to them at that point — you do
not need to re-import anything.
History and contacts are imported **once**, during setup. If you skip sharing
them, or the import does not finish, the only way to try again is to
disconnect and reconnect the number from scratch.
Importing can take a little while for a busy number. Conversations appear in
your inbox as they arrive.
### Messages you send from your phone
Once connected, messages you send from the WhatsApp Business app on your phone
appear in Connect-CRM as outgoing messages in the same conversation. You do not
have to change how you work.
Editing or deleting a message on your phone does not change what is already
stored in Connect-CRM.
### Limits
* A connected number can send up to **20 messages per second**.
* WhatsApp conversations belong to the person who connected the number. They
appear in that person's inbox, and only they can send from the number.
Colleagues do not see these conversations in their own inbox — connect the
number from the account that should own the conversations.
## Facebook Messenger
### Prerequisites
To connect your Facebook Messages account to Connect-CRM, you need the following:
* A Facebook Business account.
### Steps to Connect Facebook Messenger
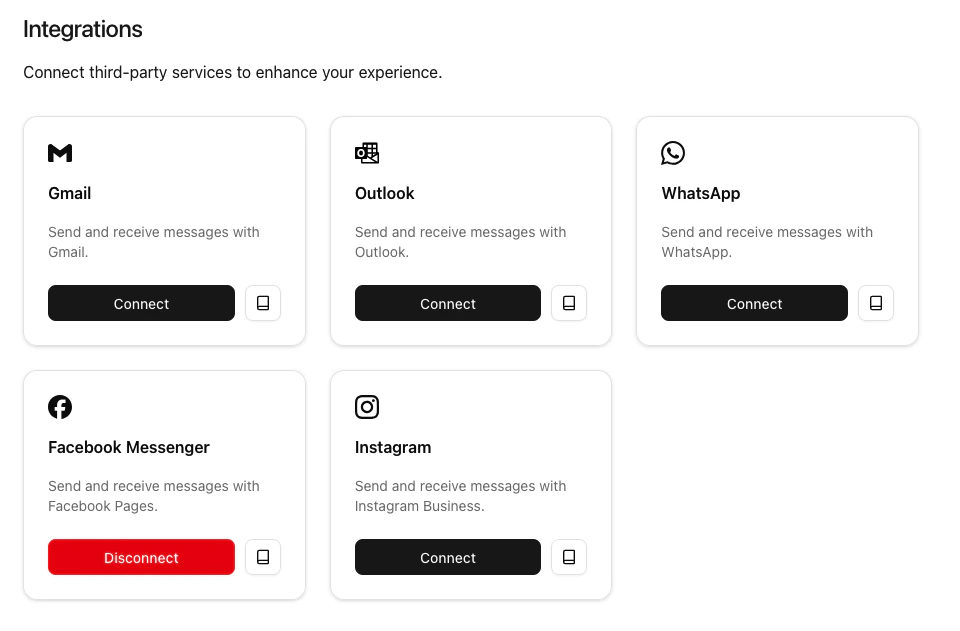
1. First navigate to the Integrations section in Connect-CRM. You can find this in the main menu under **Settings > Connect and manage integrations**.
2. In the Integrations section, look for the **Facebook Messenger** integration and click on **Connect**.
3. You will be redirected to the Facebook authorization page. Log in with your Facebook account credentials.
4. Click on **Get started**.
5. Choose a Facebook Business profile.
6. Review the permissions requested by Connect-CRM and click **Continue** to grant access.
7. Click on **Finish**.
8. Once authorized, you will be redirected back to Connect-CRM, and your Facebook Messenger account will be connected.
Keep the Facebook window open until it closes by itself. Closing it early
cancels the setup, and you will need to start again from step 2.
### What comes across
If you chose to share them at step 7, Connect-CRM imports:
* **Up to 180 days of your previous conversations.** They arrive already marked
as read, so your inbox does not open with hundreds of unread messages. They
are sorted by when they actually happened, not when they were imported.
* **The names from your WhatsApp address book**, so an imported conversation
shows who it is with instead of a bare phone number.
Where a phone number matches a contact you already have in Connect-CRM, the
conversation is linked to that record automatically. Everything else appears
under **Unknown contacts** in the inbox for you to triage. If you add a contact
later, their existing WhatsApp conversations link to them at that point — you do
not need to re-import anything.
History and contacts are imported **once**, during setup. If you skip sharing
them, or the import does not finish, the only way to try again is to
disconnect and reconnect the number from scratch.
Importing can take a little while for a busy number. Conversations appear in
your inbox as they arrive.
### Messages you send from your phone
Once connected, messages you send from the WhatsApp Business app on your phone
appear in Connect-CRM as outgoing messages in the same conversation. You do not
have to change how you work.
Editing or deleting a message on your phone does not change what is already
stored in Connect-CRM.
### Limits
* A connected number can send up to **20 messages per second**.
* WhatsApp conversations belong to the person who connected the number. They
appear in that person's inbox, and only they can send from the number.
Colleagues do not see these conversations in their own inbox — connect the
number from the account that should own the conversations.
## Facebook Messenger
### Prerequisites
To connect your Facebook Messages account to Connect-CRM, you need the following:
* A Facebook Business account.
### Steps to Connect Facebook Messenger
1. First navigate to the Integrations section in Connect-CRM. You can find this in the main menu under **Settings > Connect and manage integrations**.
2. In the Integrations section, look for the **Facebook Messenger** integration and click on **Connect**.
3. You will be redirected to the Facebook authorization page. Log in with your Facebook account credentials.
4. Click on **Get started**.
5. Choose a Facebook Business profile.
6. Review the permissions requested by Connect-CRM and click **Continue** to grant access.
7. Click on **Finish**.
8. Once authorized, you will be redirected back to Connect-CRM, and your Facebook Messenger account will be connected.
 ## Instagram
### Prerequisites
To connect your Instagram account to Connect-CRM, you need the following:
* A Facebook Business account with a linked Instagram Business account.
### Steps to Connect Instagram
1. First navigate to the Integrations section in Connect-CRM. You can find this in the main menu under **Settings > Connect and manage integrations**.
2. In the Integrations section, look for the **Instagram** integration and click on **Connect**.
3. You will be redirected to the Facebook authorization page. Log in with your Facebook account credentials.
4. Click on **Get started**.
5. Choose a Facebook Business profile that is linked to your Instagram Business account.
6. Review the permissions requested by Connect-CRM and click **Continue** to grant access.
7. Click on **Finish**.
8. Once authorized, you will be redirected back to Connect-CRM, and your Instagram account will be connected.
## Instagram
### Prerequisites
To connect your Instagram account to Connect-CRM, you need the following:
* A Facebook Business account with a linked Instagram Business account.
### Steps to Connect Instagram
1. First navigate to the Integrations section in Connect-CRM. You can find this in the main menu under **Settings > Connect and manage integrations**.
2. In the Integrations section, look for the **Instagram** integration and click on **Connect**.
3. You will be redirected to the Facebook authorization page. Log in with your Facebook account credentials.
4. Click on **Get started**.
5. Choose a Facebook Business profile that is linked to your Instagram Business account.
6. Review the permissions requested by Connect-CRM and click **Continue** to grant access.
7. Click on **Finish**.
8. Once authorized, you will be redirected back to Connect-CRM, and your Instagram account will be connected.